The first step to becoming a Python developer is to install Python. In this post, I will cover how to install the latest version of Python on a Windows 10 machine in four easy steps.
Step 1: Download Python
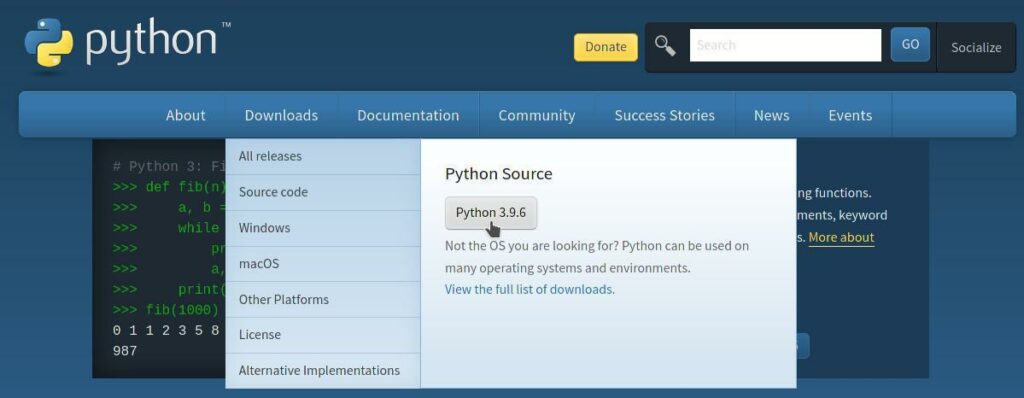
Go to www.python.org and download the latest release of Python by clicking the button.
The version number may be different than what’s shown below if you’re viewing this at a later date. That’s a good thing. It means you’re using an even better version of Python!
Step 2: Open the Python Installer
Open your downloads folder and run the installer. You can get to your downloads folder by selecting the File Explorer from the taskbar, or press the Windows key + E at the same time, and clicking Downloads under the Quick access area.
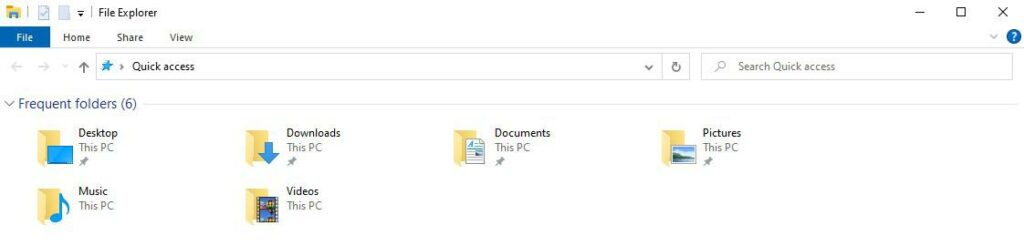
Once you’re there, double click to run the installer downloaded in the previous step.
Step 3: Run the Python Installer
Once the installer is open, click the checkbox to add Python to your PATH and click Install Now. If you want to give other users the ability to run Python, browse into the customize area and select the appropriate options.

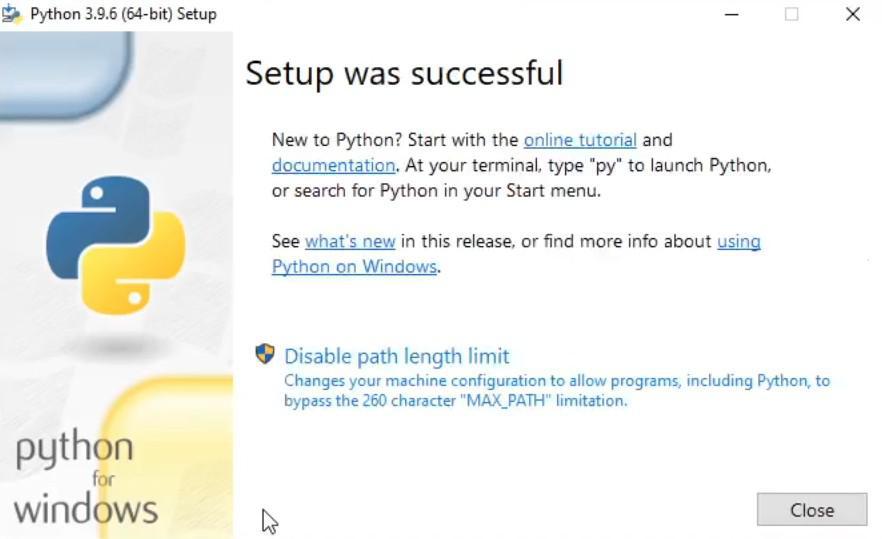
After ten to twenty seconds or so, depending upon the speed of your computer, Python will be successfully installed and you should see a screen like the one below.
Step 4: Verify the Installation
Run the command prompt by typing CMD in the search bar and pressing enter, or by clicking the Windows key + R and typing in CMD and pressing okay.
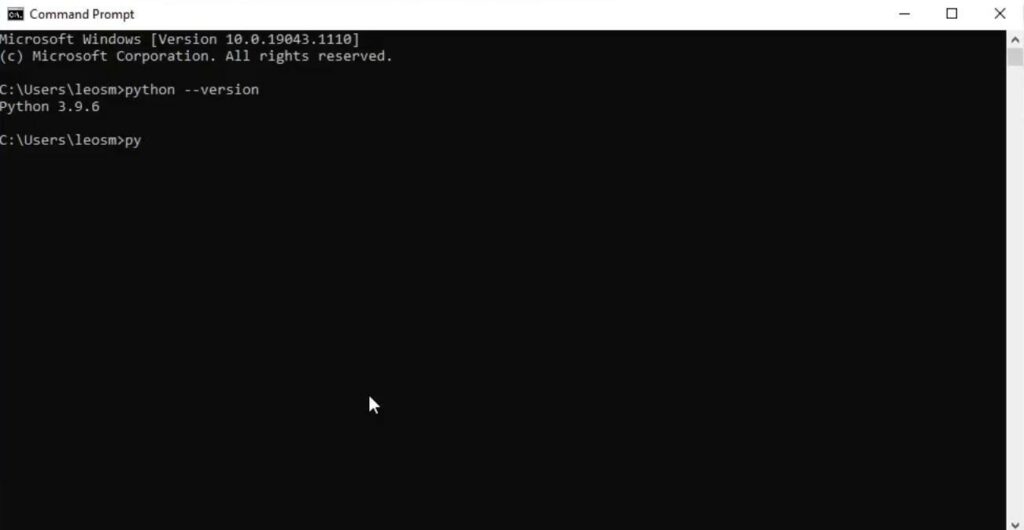
Verify Python is installed correctly by typing python –version and pressing enter. If you see a version number display, you’ve installed Python correctly! Congratulations!
Hello there, thanks for the information. It helped me in installing python.
Awesome! I’m glad it helped!